Sewing is full of sharp blades, pointy pins, and misleading dangers. Last July I was sewing non-stop to prepare for my wedding. I had grand ideas to make all of my bridesmaid’s dresses, my own wedding dress, and the bouquets for myself and my ladies. During the month of June, my mother visited to help me achieve my insanity. Thus my craft room was transformed into my guest room and my sewing machine was moved into my bedroom.
Previously I was good about closing my sewing room door, mostly to protect my creations from shedding or shredding. I hadn’t even considered that the cats themselves were in any danger.
So here we are, sewing and surging, creating beautiful bridesmaid’s dresses. We were careful not to drop pins, concerned for our own toes inside the bedroom and slightly worried one of the cats would try to eat a pin. But we hadn’t given a thought to dropping thread.
For those of you who haven’t used a serger, the tail threads are very long. You want them to be long so that the seam wont unravel. I like tying a knot and trimming the excess. This left lots of long and thick strands of thread in my carpet.
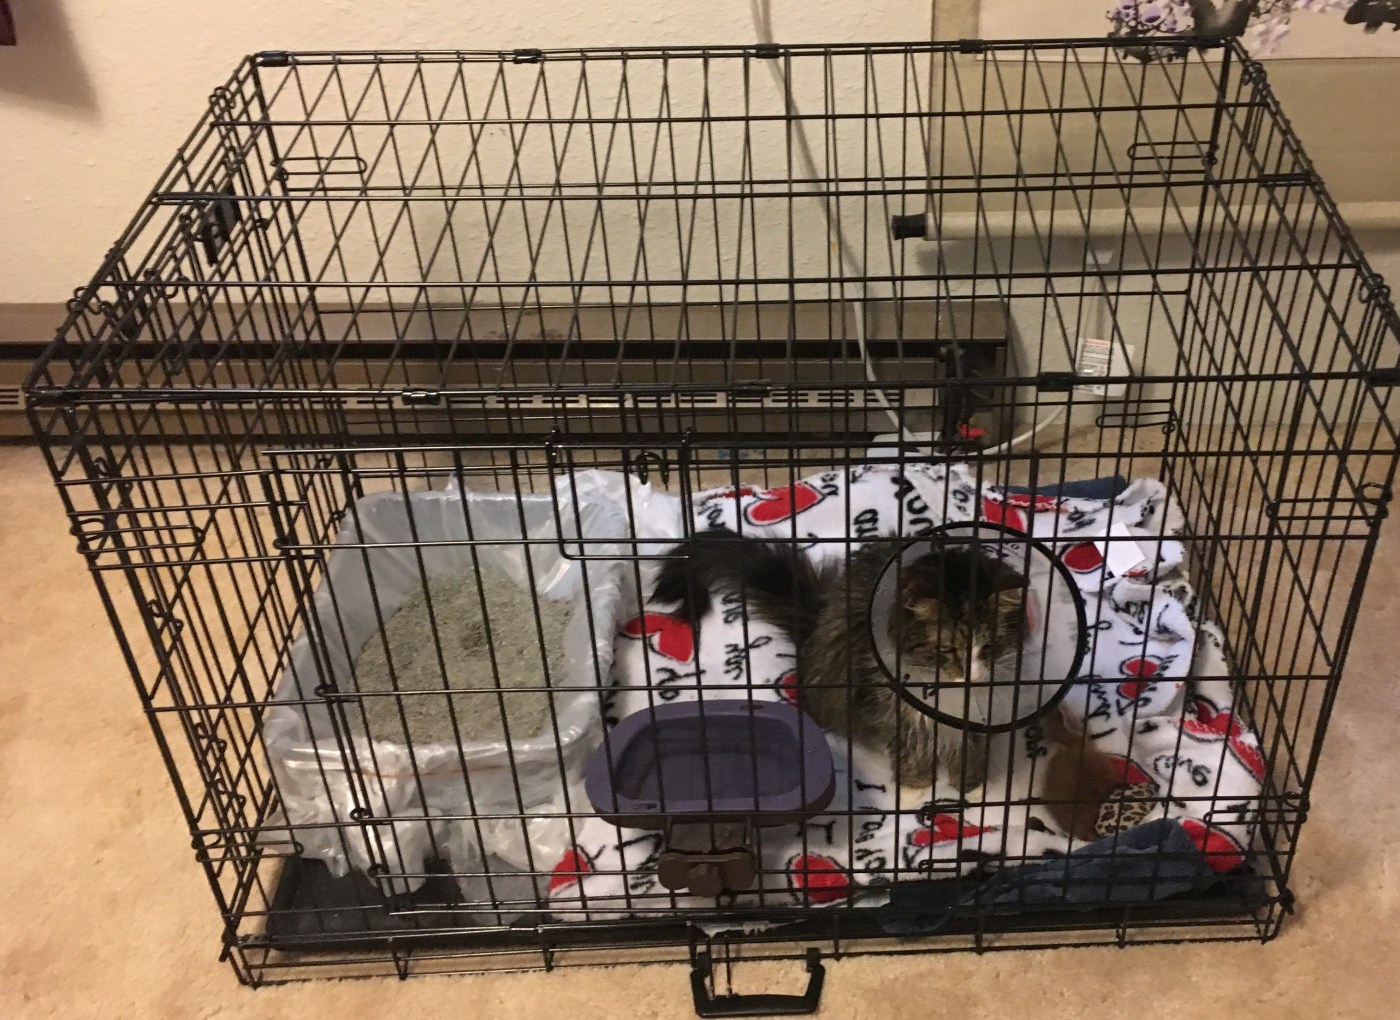
At the time I had three cats, one adorable fluff-ball named Lacey (yes I know it is a stripper name but I liked it) loves to spend time with me while I sew. She considers my sewing room her space. So when we moved the sewing machine into the bedroom she cheerfully followed us.

We had always known she liked to play with thread but we didn’t realize that the danger to her wasn’t the needles (which is what worried us) but rather the lengths of thread tangling inside her body.
You can guess where this is going,
Oh Shit,
Lacey was losing weight, she wouldn’t eat or she would throw up what she had eaten. She lost two pounds in two weeks and she was only 8 lbs before she ate the thread. When I got home from a business trip and realized how bad it had gotten we rushed her to the vet.
Now don’t think we are bad pet parents, we had already taken her to the vet twice for this and they couldn’t see anything, there had been x-rays and sonograms, trying to find the cause of her vomiting. The vet couldn’t find anything.
This third visit was different. We brought her in and they immediately put her on an IV to re-hydrate her and pain meds to help with her discomfort. We immediately said do the surgery. Something was hurting our little girl and we had to get it out.
The Aftermath
The vet took two separate strands of thread out of our baby-girl, one was tied around her tongue and the other had tied up her intestines. The vet had to cut open her digestive tract five times to pull out all of the thread. This surgery cost us $2000.00, two weeks in the cone of shame, and spoon feeding our recovering invalid every three hours.

Now my sewing room is off limits. Thread does not leave the sewing room, and cats don’t come in. I keep a trash can right next to my machine and thread goes directly into it. I have lots of ideas of how to long term resolve safety issues, but right now here are those ten safety tips that will keep you and your family safe. And remember, anything a cat will do, a toddler will do to.
10 Steps to Sewing Safety
1. Keep your thread corralled.
Seriously, don’t do what I did. There are two types of thread containment you need to pay attention to. One is when the thread has been clipped, and two is when the thread is still on the spool. Wait… but if it is on the spool how can the cat eat it?!
My cat literally tried to eat the thread where it was threaded into the machine. I swear she has a death wish! Also, if a spool is left out and thee cat starts playing with it, the thread could unwind and the cat can eat it there. I have had to pull thread still on the spool out of a pet’s stomach.
So consider storage options for your thread. There are lots of ideas out there, you can store them in plastic trays like this one.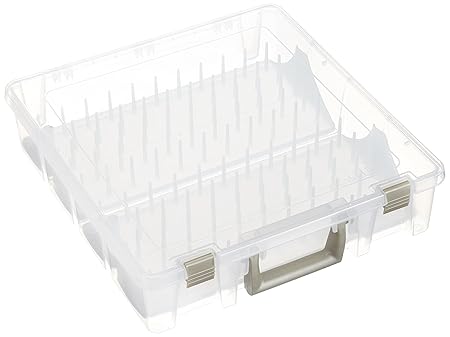
Or you can do like I did, and wall mount one of these 
These two worked well for me, but pinterest is full of other great ideas for thread storage and display. My word of advice is make it easy to put your thread away so that you will do it, and keep it out of reach of any covetous mouths.
There are some cool ideas for thread disposal as well. I’ve been using a well placed trash can (which I’ve had to chase my cat away from once or twice) but there are other cool ideas like this table mounted thread catcher.
Check T. in the Burg for a cool thread catcher meets pin cushion.
I have this scheme that may one day come to fruition to attach a quiet shop-vac to a table mount which will allow me to hit a foot pedal and move the thread or scrap to a hole in the sewing table press the pedal and have the thread disappear into a disposable bag which the cat can’t get into…. one day.
All in all I would say just get into good habits. If you use a trash can, use one with a lid. And the vacuum is your friend, anything you miss you will catch at the end of the day with a well needed cleaning
2. Keep your needles contained
Who here has gone to Joann’s and purchased those titanium needles with the melted plastic to cardboard packaging? Those needles never stay in the packaging once you open it. I have tried to keep them upright, in a separate case and organized but it never works. If you buy the Schmitz needles, they come with their own cases but are more expensive. Unless you want bloody fingers from sticking your hand into a drawer full of loose sewing needles you need to decide how you are going to organize your needles.
If you have the money and time to really do the job right, I recommend something like the Plastic Transparent 10/15/24 Containers Storage Case Box (24)
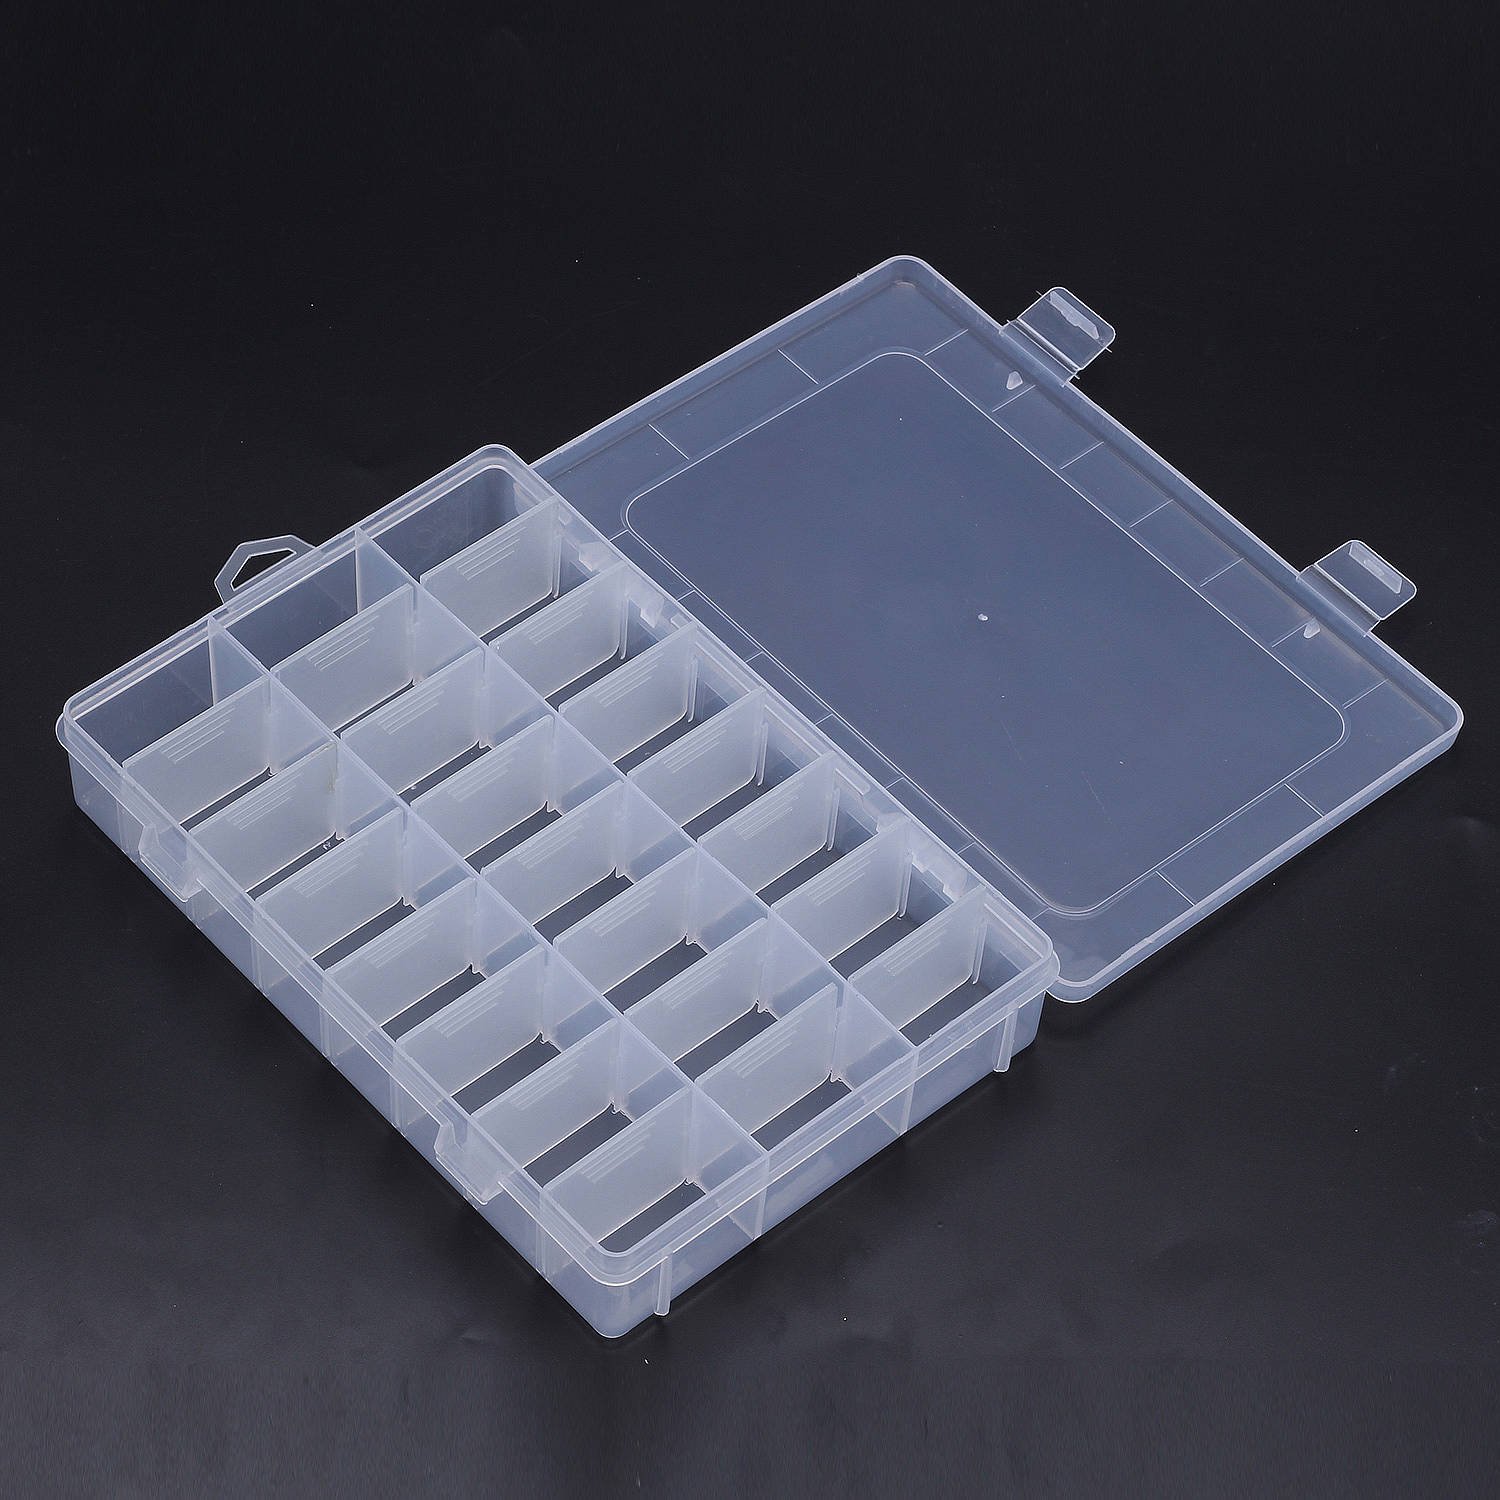
I love how streamlined it is and how it can keep a large assortment of needles organized without blunting the needles too much.
However if you are cheap like me, hoard the Schmitz cases and I keep an Altoids case for my generic sewing needles. It might not be pretty, but it keeps me from having bloody fingers when digging in my sewing drawers.
3. Keep your scissors sharp
There is nothing more dangerous than a dull blade. You would think that a sharp one will do more damage, but the truth is that a dull cutting tool will do more damage and the injury will take longer to heal. A sharp pair of scissors will give you more control when you are cutting your material, and will also reduce the likelihood of accidentally cutting yourself.
To keep your scissors sharp invest in a great pair of scissors first. I know many of you have kids or husbands who want to use mommy’s good scissors for paper crafts or cutting wire or industrial mesh because they are the good scissors.
My mother made me inherit the scissors that I destroyed. I keep them to this day to remind others what using good scissors for bad projects will do to the good scissors.
Now my good scissors do not leave my sewing room. They are titanium, they are spring loaded, and they are still in just as good condition as when I bought them five years ago.
If I need to cut something that could damage my good scissors, I use the ones mom gave me that I destroyed years ago. Even those I sharpen regularly. Sharp scissors are essential to controlling where the scissors go.
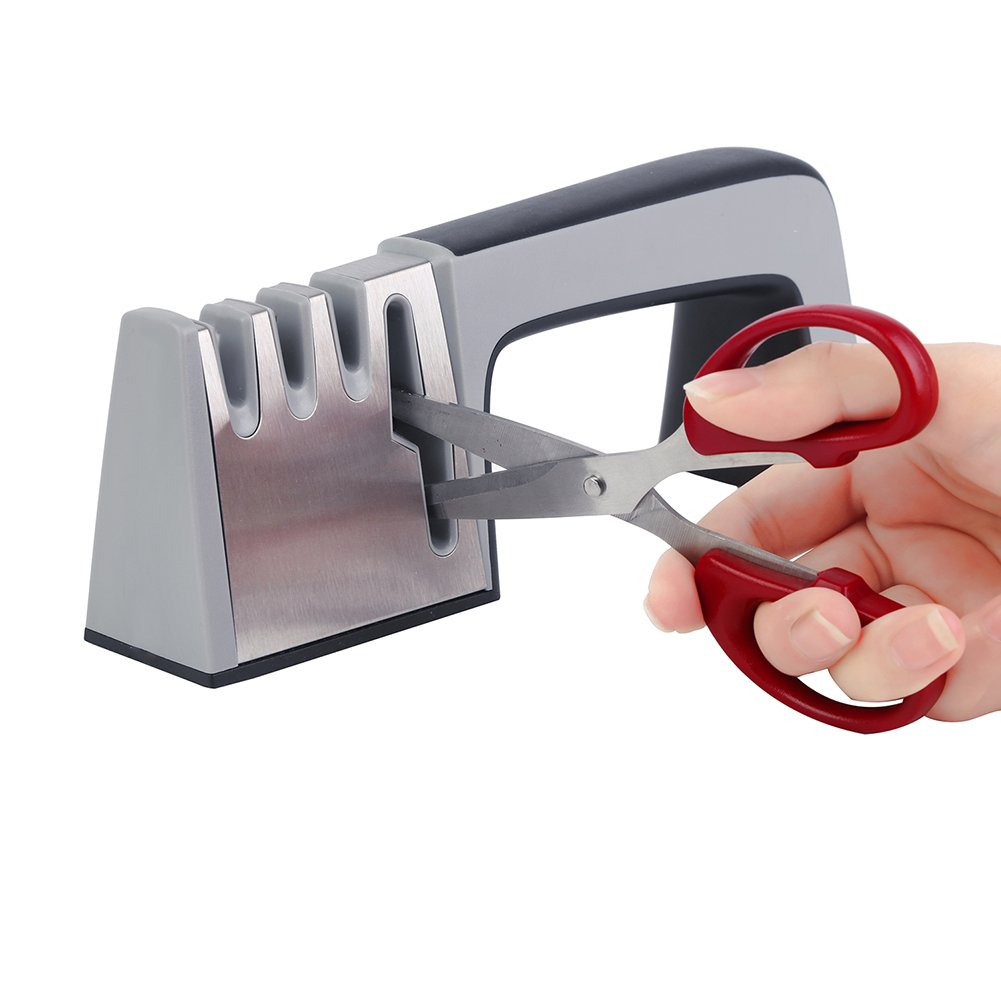
keep your scissors sharpened with a Scissor Sharpener. This will sharpen any steel knife or scissors.
On pain of time out no one will use your good scissors. Hide them, put them in a lock box if you have to, just don’t let them touch anything but fabric.
But my zigzag scissors are getting dull you say. Then sharpen them as well. Take aluminum foil and fold it in half a few times. Then cut the aluminum foil a few dozen times. The aluminum foil acts as the whetstone and sharpens the blade. This works for any funny shaped cutting blade. Got paper cutting stamps? Use aluminum foil to sharpen those too.
4. Keep your embroidery scissors in a case
Embroidery Scissors are special. They have a very sharp pointy end. During a serger class, my teacher wasn’t paying attention, and stabbed herself with one of the student’s embroidery scissors. Even the pros will gore themselves if safety precautions aren’t taken.
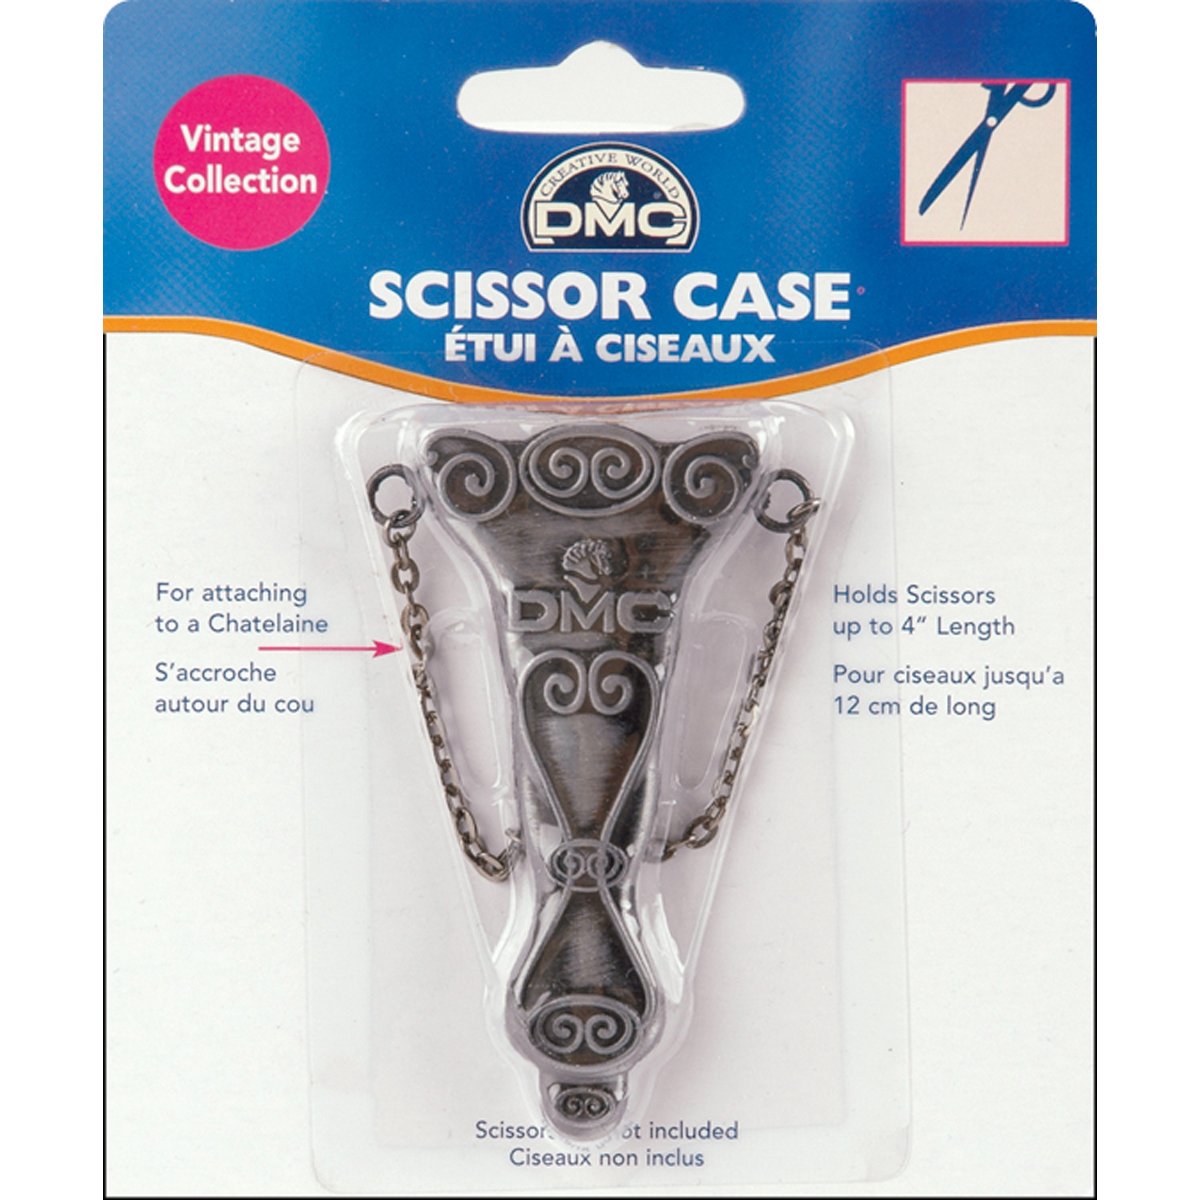
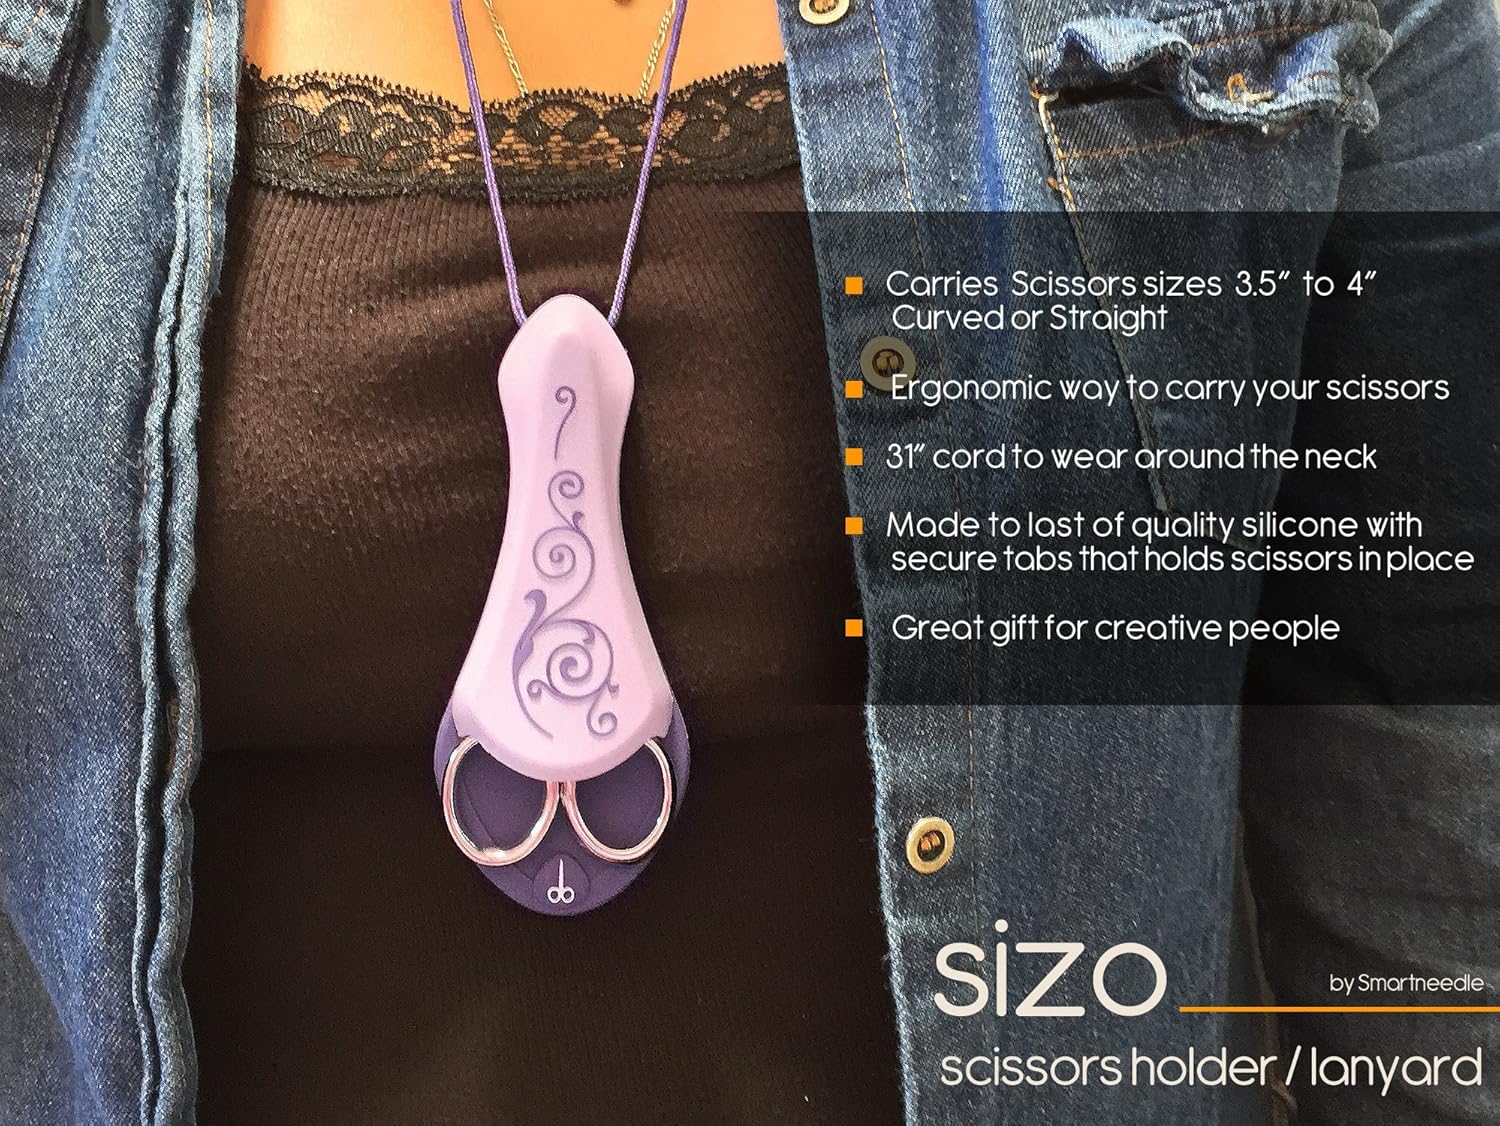
Check these out for case ideas.
DMC 6121/3 Vintage Style Scissors Case, Brushed Pewter, 4-Inch
Smartneedle SIZO-PUR Sizo-Scissor Lanyard Purple Art and Craft Product
5. Use bent tweezers if you need to work with the fabric around the pressure foot while the machine is running.
I love bent tweezers!

You can pick them up in any sewing shop or online. They are good for threading, for beading, for picking up needles in carpet. But how are they a safety feature?
In another post I said that bent tweezers can help prevent thread breaking. When your fabric has too many layers of embroidery on it, the needle sometimes can’t pass through the fabric easily and the fabric tries to move with the needle. These tweezers are how I hold the fabric down and don’t accidentally sew my finger to the project. Blood stains are not easy to get out.
Many years ago, my mother warned me that if I wasn’t careful I could accidentally put the needle through my finger. She showed me scars of where it had happened to her. I’ve been lucky and have very thick nails that have on more than one occasion saved me from that very fate. Since I started using the bent tweezers though my fingers don’t need to be close to that moving needle. I love that I can control the fabric both when sewing and when embroidering (don’t use them on a serger. You could damage your cutting blades) without putting my fingers next to the pressure foot. Keep these on hand so that you can save your fingers from becoming part of your creation.
6. Keep your pins sharp
Who hasn’t been jabbed by a dull/cheap pin as it fought to go through fabric? When your pin isn’t sharp then you have to put more pressure on the pin to go through the fabric and it jabs you in the thumb for your effort.
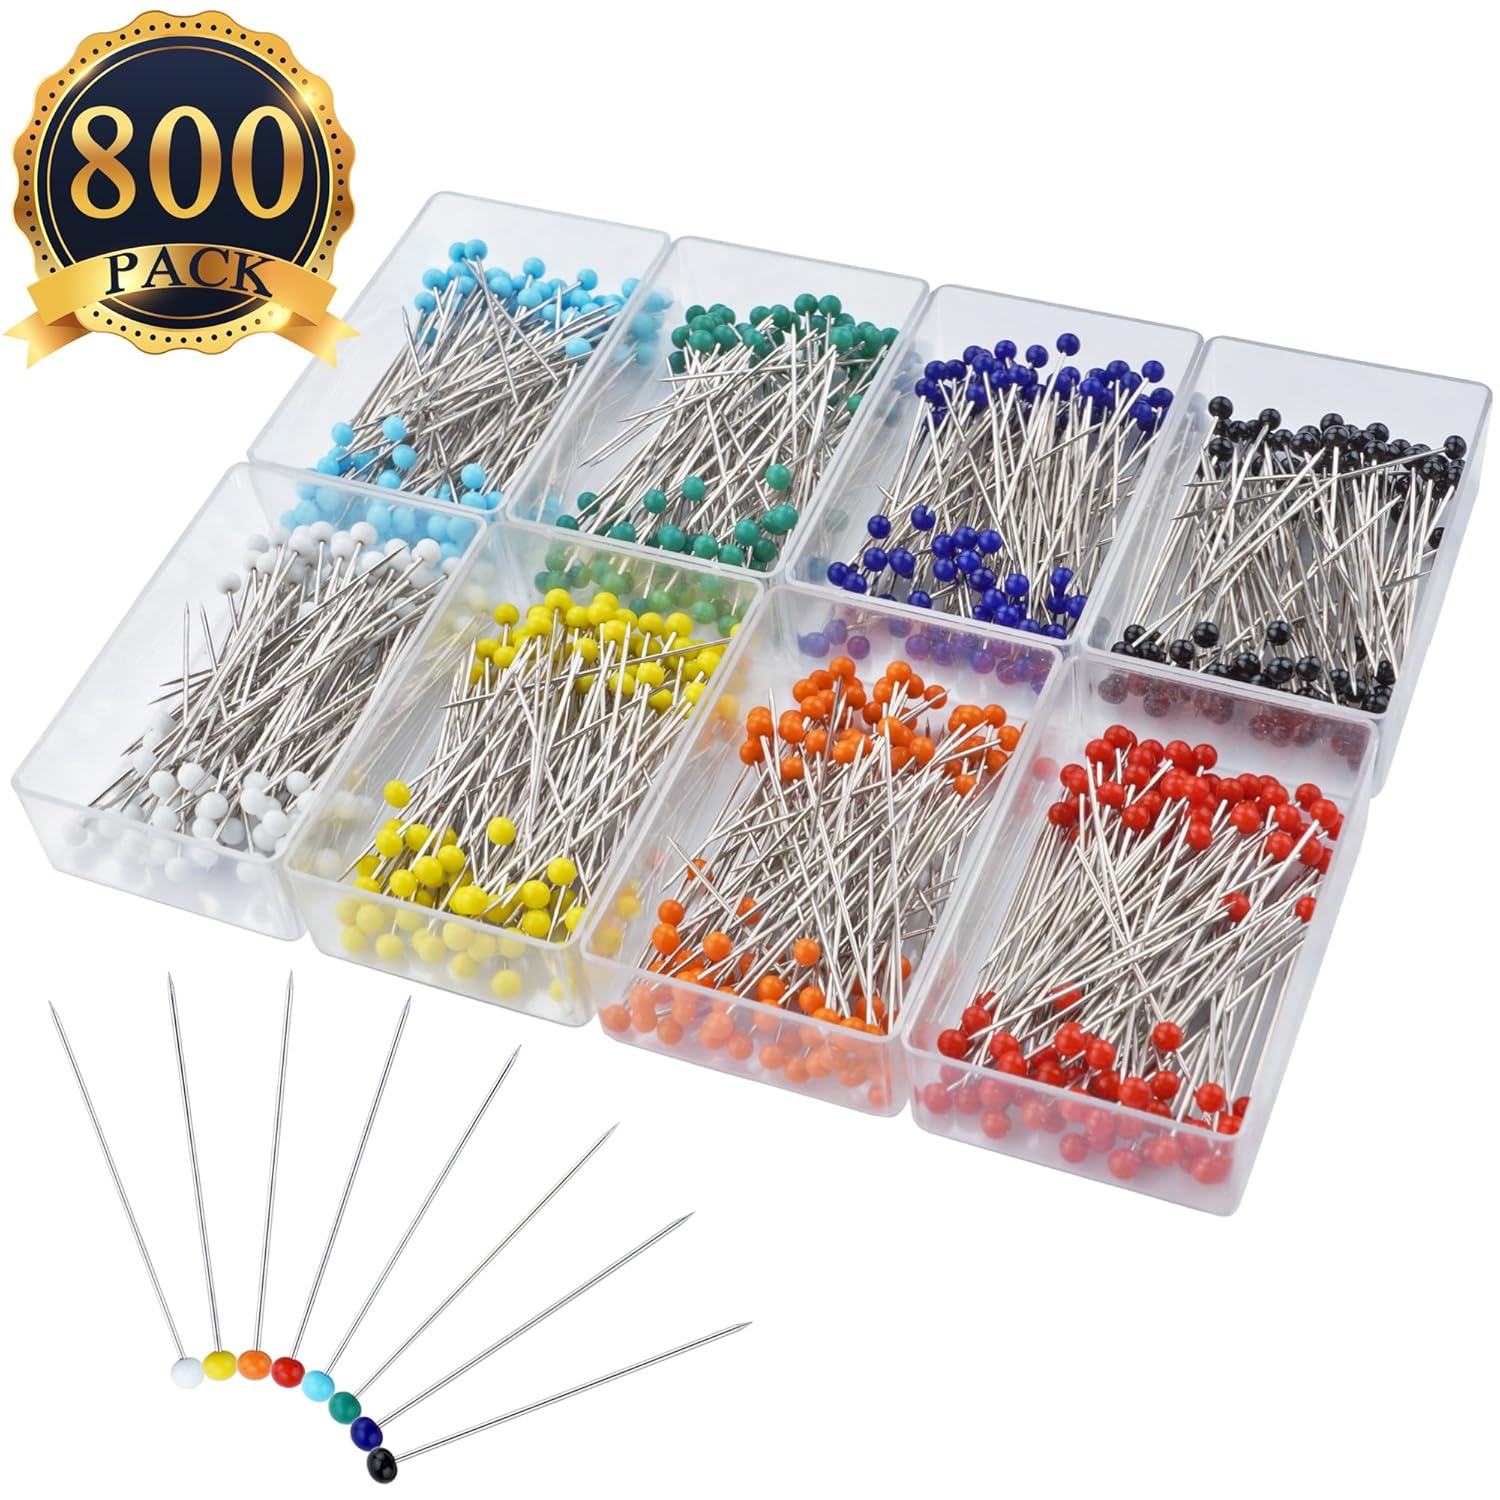
Start by buying good pins. I’m cheap, I bought two cases of glass head pins and those are almost exclusively what I use. I have quilting pins for when I need something longer or if I will almost certainly bend the pin.
Sewing Pins 38mm Multicolor Glass Ball Head Pins
Next you need to think about how you store your pins. I have been storing them in their original case or on a magnetic tray like this one.

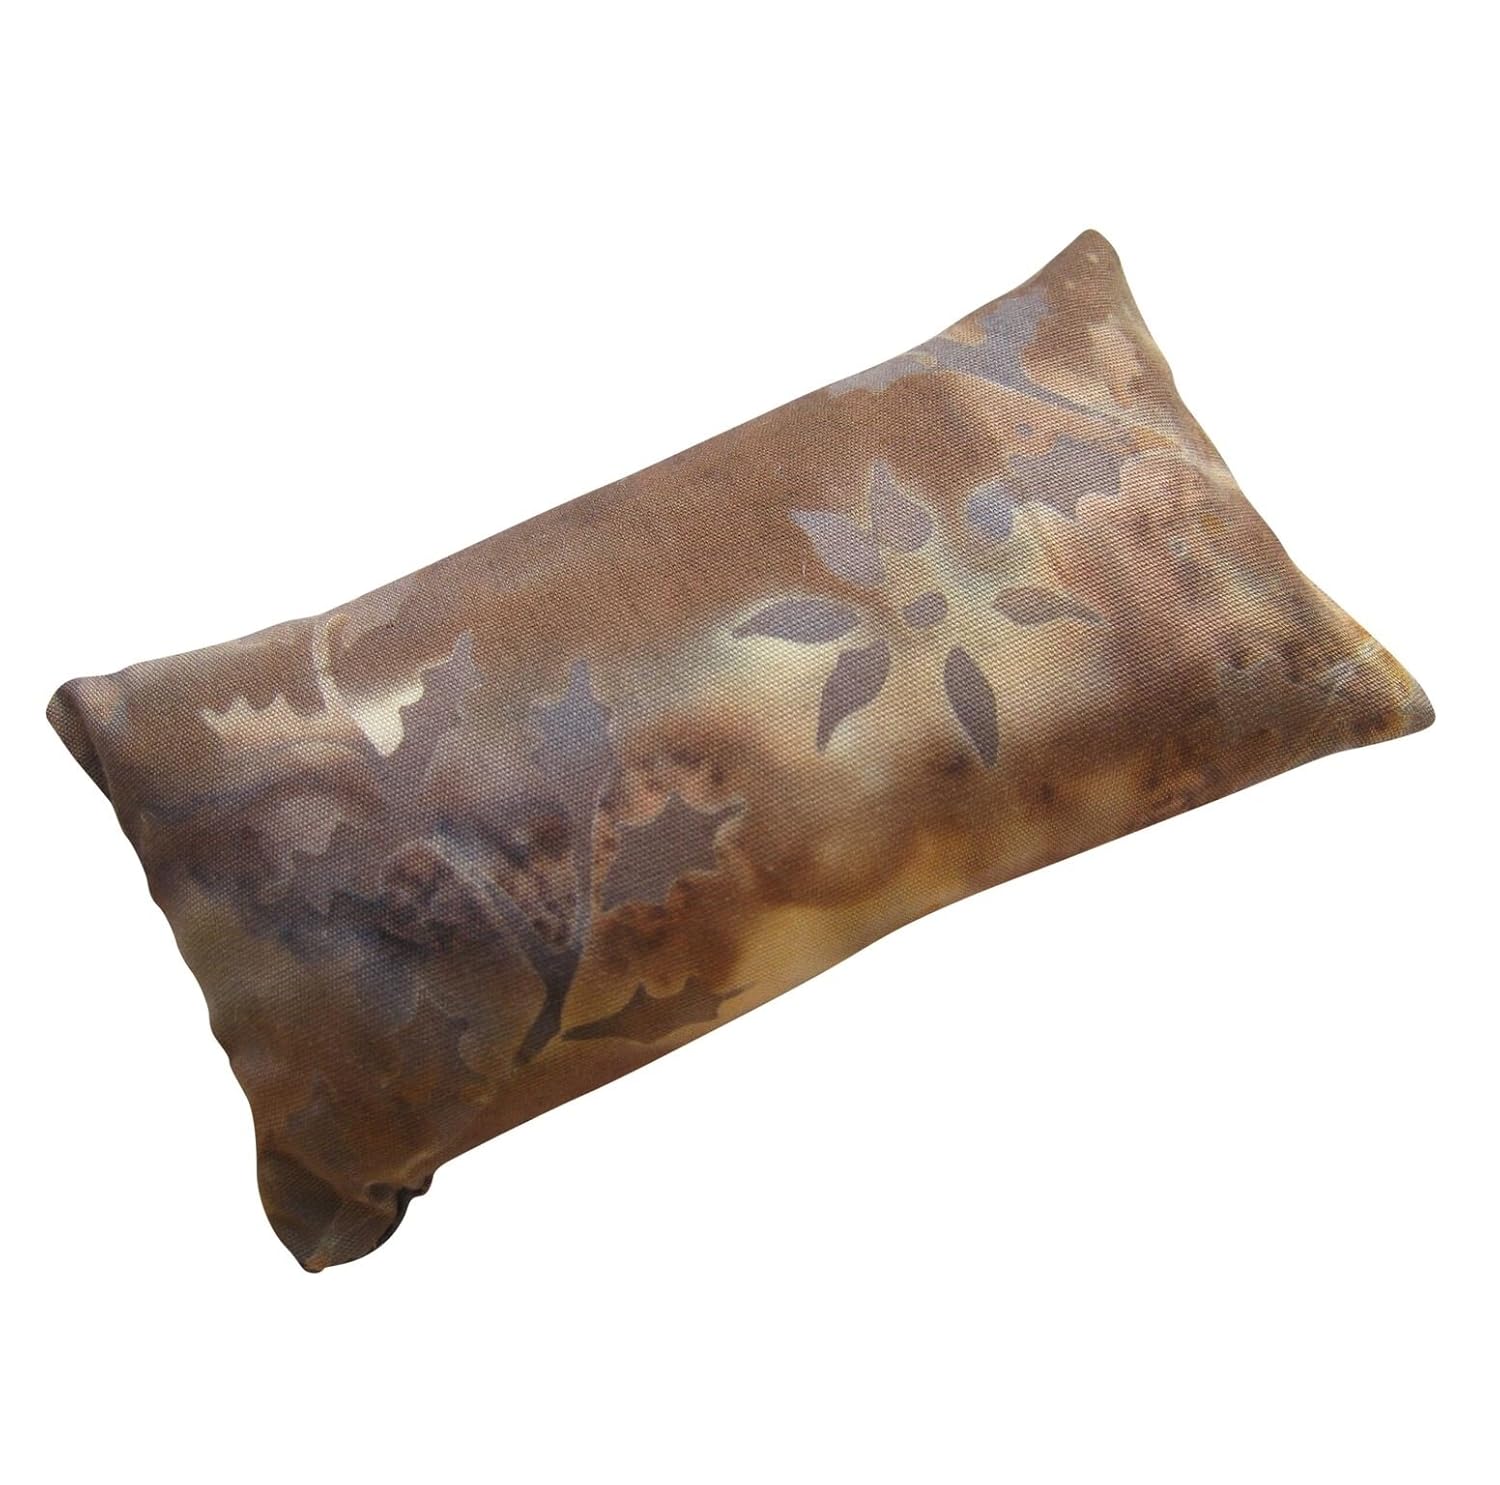
Neither of these are bad ideas, but neither of them will keep your needles sharp. An emery pincushion will however sharpen your needles every time you push the needle into it. Similar to using aluminum foil to sharpen scissors, the emery powder inside the pin cushion (or steel wool) will sharpen the tip. This is something I need to invest in one off these days.
Nakpunar Batik Emery Pincushion
 7. Throw away any damaged needles/pins into a one way steel or thick plastic container.
I can’t count the number of times that I’ve tossed a broken needle or bent pin into the trash just for it to bounce out again, or get stuck on something that didn’t completely make it into the can. Needles and pins need their own trash can.
Either invest in a separate container with a lid on the top and a magnet on the bottom to hold what goes in, or maybe a sharps container (used to dispose of medical needles). Something which will not be perforated by the needles, and something which you will only dispose of needles and pins into. Plan to dispose of the entire container when it is full. You want to protect the people collecting your trash as well as yourself. Sewing needles can perforate trash bags and stab waste workers and expose them to horrible infections. Please be cognizant of their safety as well.
8. Use a magnet if you drop needles or pins in the carpet.
Dropped pins happen and if you don’t want to be in danger the whole time you are working, then you need to be able to rescue any runaways.
Magnetic Separator Pickup Tool with Quick Release
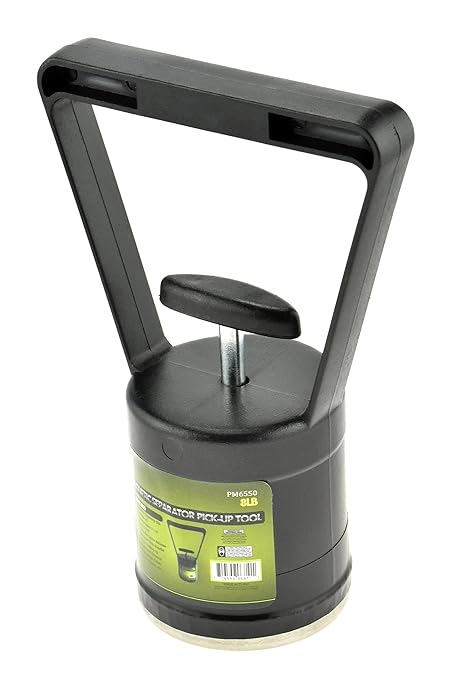
You might think this is over kill. Just wait until you are on your hands and knees trying to find an almost invisible pin and you break this baby out and find not only the pin, but a few screws and an earring you lost months ago.
9. Vacuum your floors before shutting down each day.
This is the #1 safety tip I can leave you with. Clean up everything at the end of each day. I don’t care if you have to get it all out again tomorrow. Vacuum the room and put everything in its rightful place. You will thank yourself in the morning.
10. Keep all pets or children out of your sewing space unless ALL thread has been put away, cleaned up, and you have vacuumed the space.
I hate this rule. I love it when my fur babies join me in my den. Sadly it is for their safety. I can’t keep watching them every second, that is a recipe for a trashed project or an injured me. Keep them out if you love them. I’ve considered maybe installing a screen door or maybe a play pen to keep them close but contained. Find what works for you, but keeping them out and the sewing in is the only truly safe method.
Wow. This was supposed to be a 500 word blurb…. Not only am I posting a day late, but it might just be the longest post I’ve done thus far. Time to get back to packing! Good luck, and stay safe.

OMG!! Poor cat. I don’t have pets or little kids in my home, but I value my health, too. Lol. The trash can travels with me around the sewing room. Thanks for the safety tips!
LikeLiked by 1 person
Thankfully Lacey is fine now. You can’t even see the scar. She is totally miffed when I sew without her though.
LikeLike